♘امیرحسین♞
♘ مدیریت انجمن اسب ایران ♞
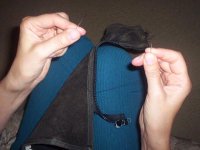
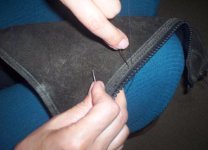
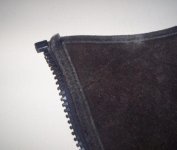
Torn or worn stitching in light weight leathers can be repaired easily with sewing equipment you can buy at any fabric or department stores. Items like chaps and half-chaps, flashes, saddle pads, blankets can be a do-it-yourself repair that takes minimal time and expense.
You’ll need:
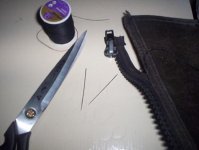
* Sharp scissors
* 2 leather needles
* Heavy duty thread for canvas or leather—the color and weight should match the existing stitching
You’ll need:
* Sharp scissors
* 2 leather needles
* Heavy duty thread for canvas or leather—the color and weight should match the existing stitching